


This is a sketch/inking process for a drawing I'm working on. I'm yet to color it but at least you can see the process.
Enjoy!
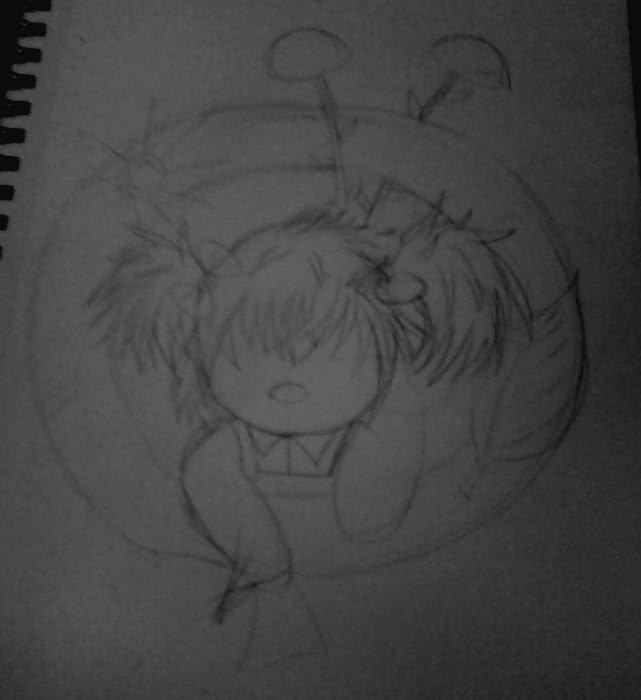
First, I block everything in. The wreath outline and the base for the body, including the head. I also put basic facial guidelines.

Now I add details likes hair and clothes on the scarecrow, and guidelines to other things like the cone flowers in the background and a soon to be sunflower along with a leaf (which I later get rid of).
After a while, I've added more details, fleshed out the face and drawn other things like the acorn and pine cone branch where the leaf was. And put leaves on the other side.

After I drew out everything, I lightened some lines and went over the whole drawing with a mechanical pencil. In so doing I also added a tree/wood pattern to the wreath.

First, I used a fine-point sharpie that was older so the ink flow was thinner than if it was new.
I started on the clothes and hair, along with the hay-based hands.

Next, I inked more hair and added the bows, along with the face using a new fine-point sharpie which makes a bigger ink-flow. I inked the outer edge of the wreath with a 1.0 Sakura Micron pen.

I also inked the outside of the edge of the pine-cones with the sharpie then I inked the inside using a 005 Sakura Pigma pen.

After I inked the cone flowers with the new sharpie but the inner-part was inked with the 005 point pen. I also inked the sunflower but I forgot to take a picture. After all that was done I added the wood with the 005 point pen.

In the end, I added some thicker lines and I erased.


Would You Like To Read More
Blog Posts Similar To This One? Take A Look At The Official Blog
Archive.
Would You Like To See My Drawings? Click here.
Enjoy!
Sketch:
First, I block everything in. The wreath outline and the base for the body, including the head. I also put basic facial guidelines.
Now I add details likes hair and clothes on the scarecrow, and guidelines to other things like the cone flowers in the background and a soon to be sunflower along with a leaf (which I later get rid of).
After a while, I've added more details, fleshed out the face and drawn other things like the acorn and pine cone branch where the leaf was. And put leaves on the other side.
After I drew out everything, I lightened some lines and went over the whole drawing with a mechanical pencil. In so doing I also added a tree/wood pattern to the wreath.
Inking:
First, I used a fine-point sharpie that was older so the ink flow was thinner than if it was new.
I started on the clothes and hair, along with the hay-based hands.
Next, I inked more hair and added the bows, along with the face using a new fine-point sharpie which makes a bigger ink-flow. I inked the outer edge of the wreath with a 1.0 Sakura Micron pen.
I also inked the outside of the edge of the pine-cones with the sharpie then I inked the inside using a 005 Sakura Pigma pen.
After I inked the cone flowers with the new sharpie but the inner-part was inked with the 005 point pen. I also inked the sunflower but I forgot to take a picture. After all that was done I added the wood with the 005 point pen.
In the end, I added some thicker lines and I erased.
May
God Bless You, Your Family, Friend; Along With The Health Of
Yourself, Family, Friends, And All Who Know You. ~ Amen
~ Firefly
Useful Links:
Would You Like To See My Drawings? Click here.
Have A Question?
Ask
The Firefly!


